2020年7月2日星期四

Porsche Coding using PIWIS Development Mode

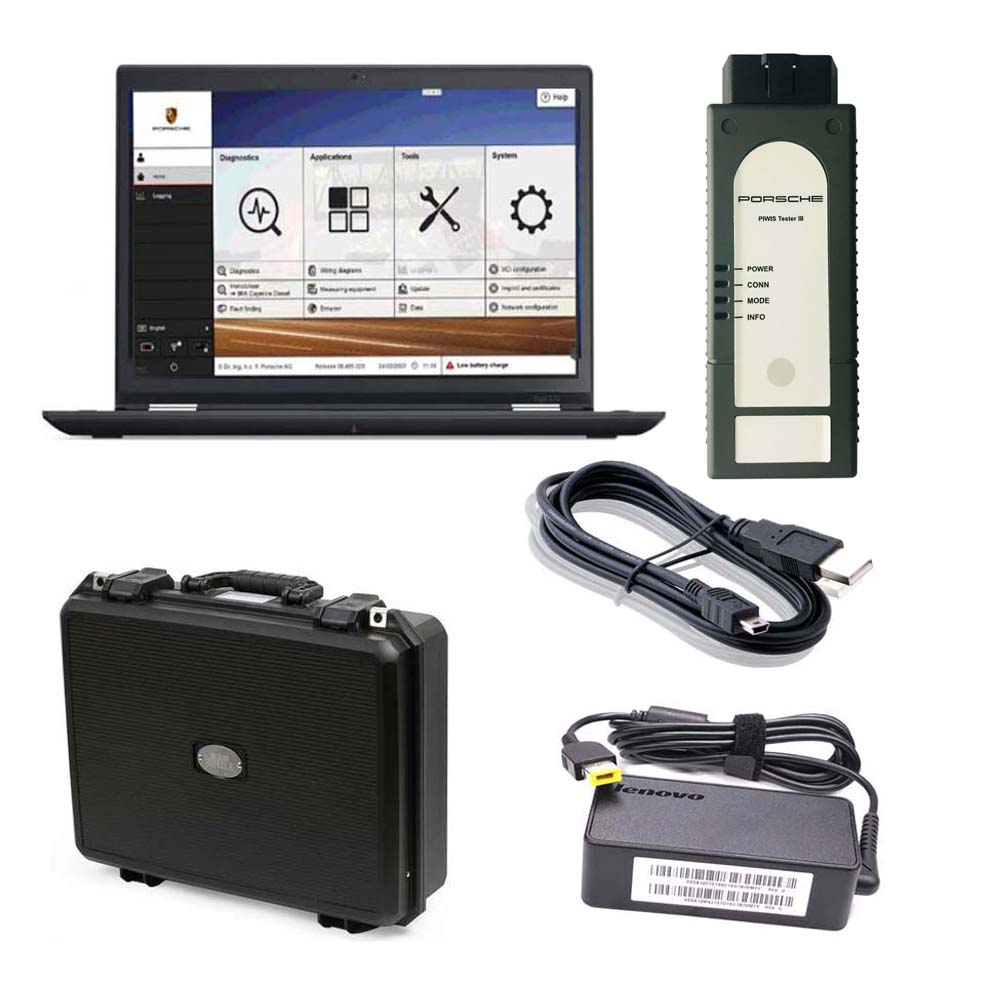
Piwis 3
CnAutotool.com here provides some coding procedures using Porsche Tester Piwis III

To code you need to be in development (E) mode, which is unfortunately in German. I’ve made a start at doing some translations courtesy of Google Translate below.
If you play around in simulation mode, the car it uses is a 991 coupe. Whilst not exactly the same as the 981, it’s very close. It’s a good start at poking around the software to see where things are without having to be connected to the car.
Some general phrases
Codierung Anpassungen
Coding adaptations
Keine Eintrage gesetzt
No value set
Codierwert or kodierwert
Coding value
Wert
Value
Verbaut
Installed
Geandert
Changed
aktiv
Active
Inaktiv
Inactive
Einheit
Unit
Geandert
Changed
Schreiben
Save
Ja
Yes
Nein
No
MCR = Machine-readable Coding Rules
Manuelle Codierung ohne MCR Regeln (Entwicklung)
Manual coding without MCR rules (development)
Manuelle Codierung von Binärdaten (Entwicklung)
Manual coding of binary data (development)
Manuelle Codierung mit MCR Regeln
Manual coding with MCR rules
Automatische codierung
Automatic coding
Rucksetzen auf werkeinstellungen
Reset to factory settings
geben sie bitte fahrzeugdaten ein
Please enter vehicle data
werte andern und mit speichern
change values and save with
weiter zum nachsten screenmit
continue to the next screen with
coderung lauft
coding is running
codierung von steuergeräten
coding of control units
Control Module names
waehlebel
Gear selector lever
kombiinstrument
instrument cluster
kombilenkstockschaltermodul
steering wheel module
stoppuhr
stopwatch
audio verstärker
audio amplifier
bedien und klimaeinheit
operation and climate
parkbremse
park brake
reifendruckkontrolle
tyre pressure control
dämpfersteuerung
damper control
servolenkung
power steering
verdeck synchronisation
convertible top
BCM vorne
Front Body Control Module
BCM hinten
Rear Body Control Module
scheinwerfer links
Left headlight
scheinwerfer rechts
Right headlight
spurwechselassistent
lane change assistant
sitz fahre
driver seat
sitz beifahrer
passenger seat
tuer vorne links
left front door
tuer vorne rechts
right front door
soundaktuator innen
inside sound actuator
DME coding translations
Manual coding without MCR
Bestelltyp
ordered type
getriebetyp
transmission type
innenausstattung
interior decoration
kodierung kodierbyte
coding coding byte
tempomat
cruise control
start/stopp aktiv
start stop active
allradantrieb
all wheel drive
abgasklappen
exhaust flap
getriebedrehzahlsensor
transmission speed sensor
kraftstoff brasilien
fuel brazil??
Gerauschtypisierung Asien
Noise typing Asia
Tankleckdiagnose Feinstleck
Tank leak diagnosis
Kraftstoffmarkt
Fuel market
Kodierung gultig
Coding valid
Landercode
Country code
Nummern
Numbers
Ruckrufaktion
Product recall
Seriennummer Wegfahrsperre
Serial number immobilizer
Tester Produktionsmodul
Tester production module
Verbauvorschrift
Building regulations
Wagen und Verdeckfarbe
Car and top color
Wartungsdienste
Maintenance services
Manual coding with MCR
Landercode
Country code
Modelljahr
Model year
Produktschlussel
Product key
Bordcomputer
On board computer
Anzeigendonfiguration
Show configuration
schlussel
Key
fahrzustand
driving state

Last Mode coding DIY
This is a Porsche PIWIS III DIY to recode the car so that it keeps the last driving modes set. I used this primarily to ensure that start/stop initialises OFF each time I start the car rather than me having to push the button each time I start the car.
I don’t know what other modes it keeps for the next time your start the car. It seems to keep the last PASM and seat heating settings, but not SPORT or SPORT PLUS.
Note: Development mode is in German. English translations are after each step to show what you are doing.
I can’t take credit for the procedure. I won’t name who it was, but they know who they are, and thanks for the help.
If you are worried about doing this for the first time on your car, it’s the same in simulation mode, so have a practice here first. Being simulation mode, it won’t let you save it.
To make the coding changes, do the following.
Change the PIWIS mode to E (development)
Open the diagnostics for the car type, then make the following selections.
1. BKE (bedien und klimaeinheit)
operation and climate
2. Codierung Anpassungen
Coding adaptations
3. Manuelle Codierung ohne MCR Regeln (Entwicklung)
Manual coding without MCR rules (development)
4. Select both kodierwert:kodierwert default fahrzustand and kodierwert:kodierwert default fahrzustand last mode
codeword default driving state
5. In Wert (value) dropdown
Change …fahrzustand to “last mode”
Change …fahrzustand last mode to “ja”
6. Click schreiben (save) at bottom.
Coding complete. Exit and change the settings back to V (aftersales) mode if desired.

2020年6月30日星期二

How to use Launch x431 pro for diagnostic cars

After buying launch x 431 pro , We need begin use launch x431 pro for diagnostic cars.
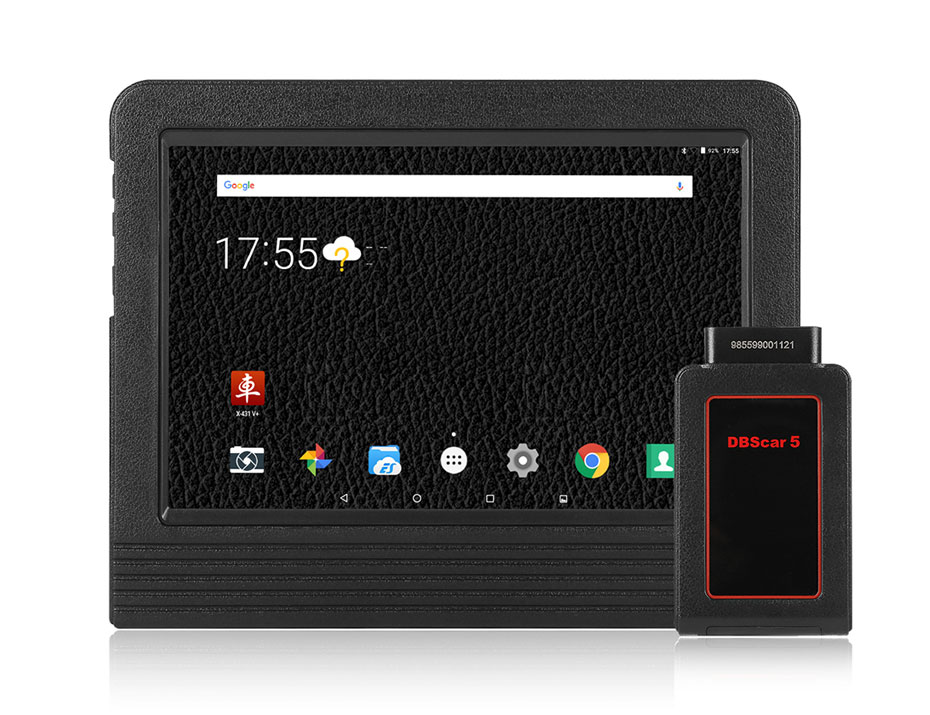
First, Connect DBScar
Locate vehicle’s DLC socket. The DLC (Data Link Connector or Diagnostic Link Connector) is the standardized 16-cavity connector where diagnostic code readers interface with the vehicle’s on-board computer. The DLC is usually located 12 inches from the center of the instrument panel (dash), under or around the driver’s side for most vehicles. If Data Link Connector is not located under dashboard, a label should be there telling location. For some Asian and European vehicles, the DLC is located behind the ashtray and the ashtray must be removed to access the connector. If the DLC cannot be found, refer to the vehicle’s service manual for the location.
Plug the DBScar diagnostic connector into the vehicle’s DLC socket (It is suggested to use the OBD 2 extension cable to connect DBScar connector and DLC socket.). For non-16PIN DLC socket, please select the corresponding non-16 pin connector adaptor, then plug the non-16pin end of the adaptor into the DLC socket, and then connect the standard 16pin end DBScar connector.
LAUNCH X431 X-431 Pro Auto Diag Scanner for Android
The second, setting bluetooth for launch x431 pro diagnostic tool
Enter X-431 PRO Bluetooth setting screen (“Settings” –> “Wi-Fi” –> “Bluetooth”), slide the Bluetooth switch to ON and X-431 PRO will start searching available Bluetooth device, click the desired connector to piar and match.
The third, Start diagnosing
Take Demo as an example to demonstrate how to diagnose a vehicle. Start the software to enter vehicle selection screen. Click “Demo” to enter demo menu screen. Click “DEMO” to enter system selection screen. Click “Engine”, the system starts initializing and then jump to the function menu.

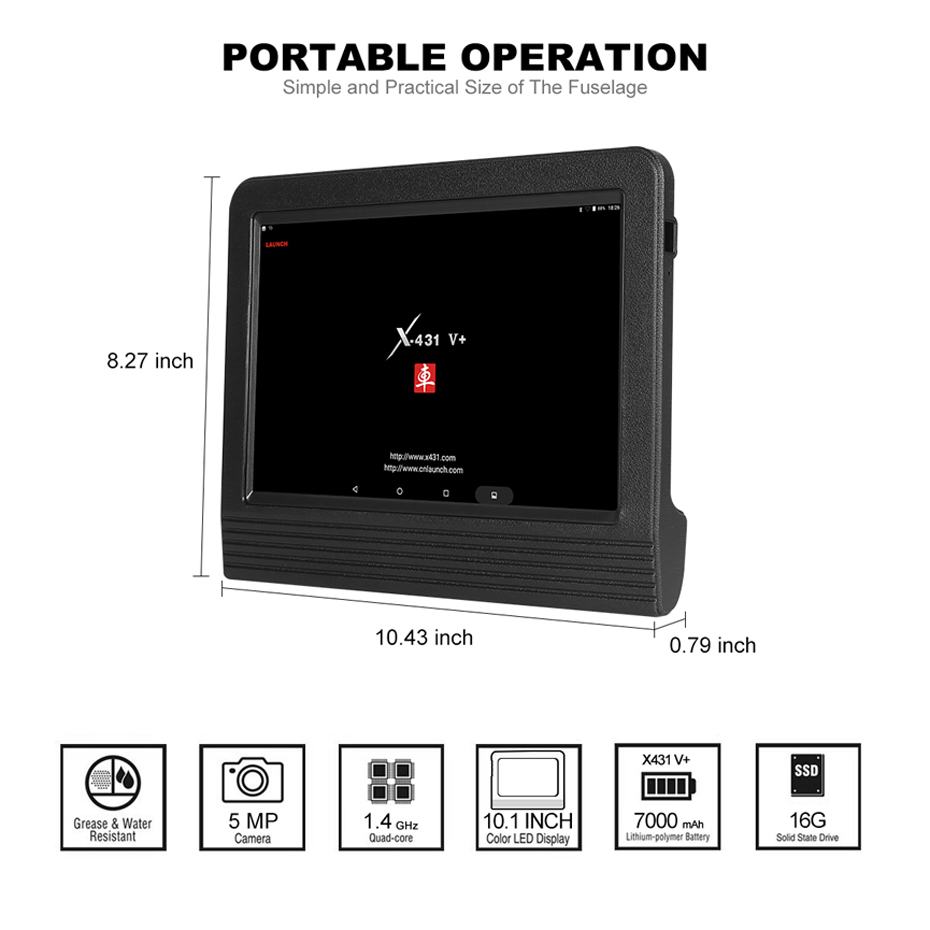
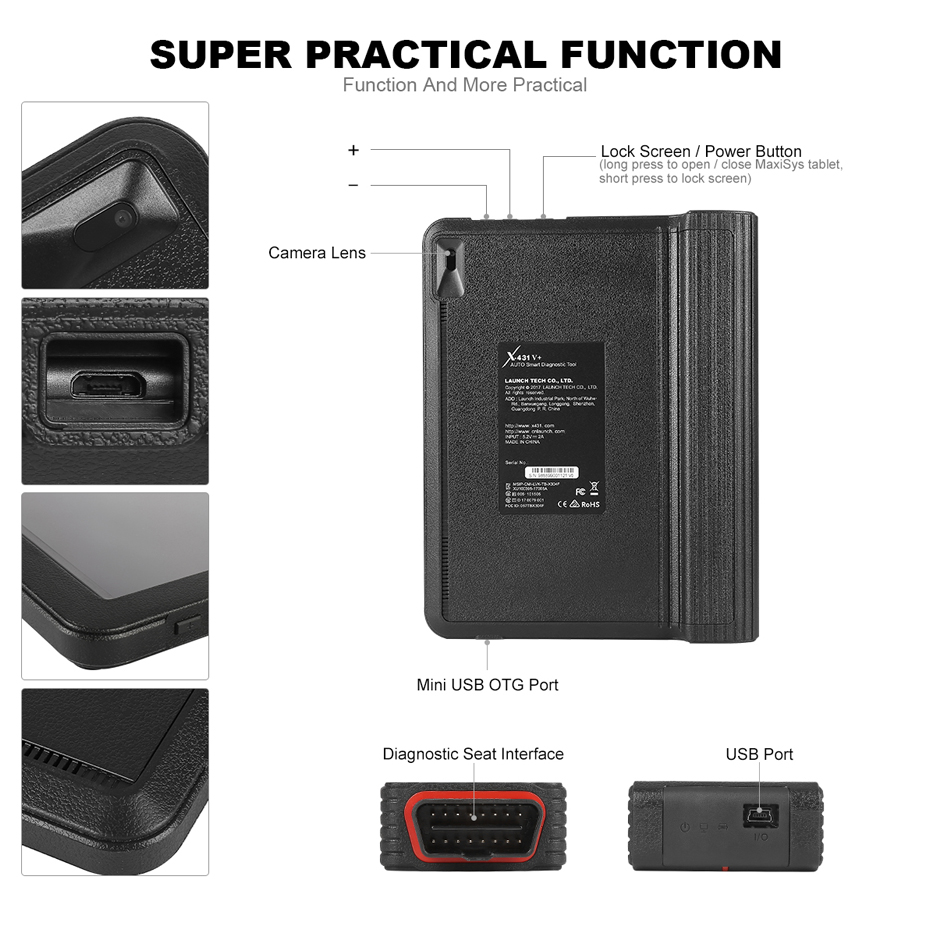
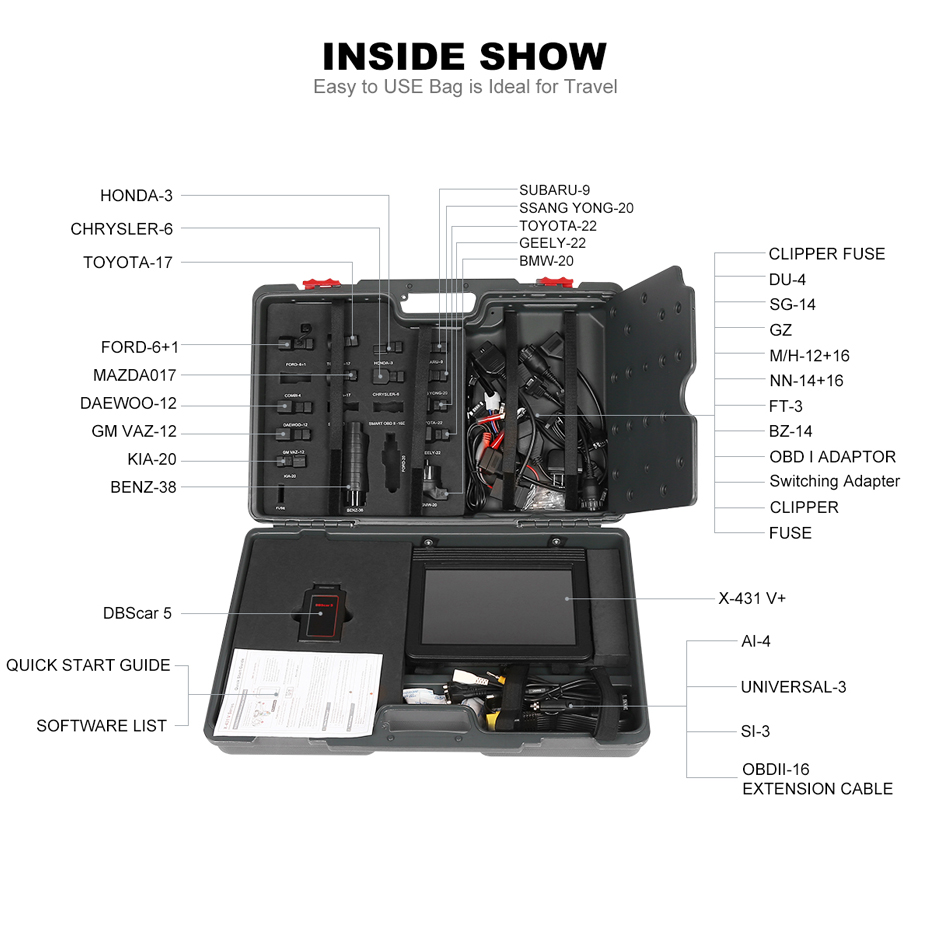
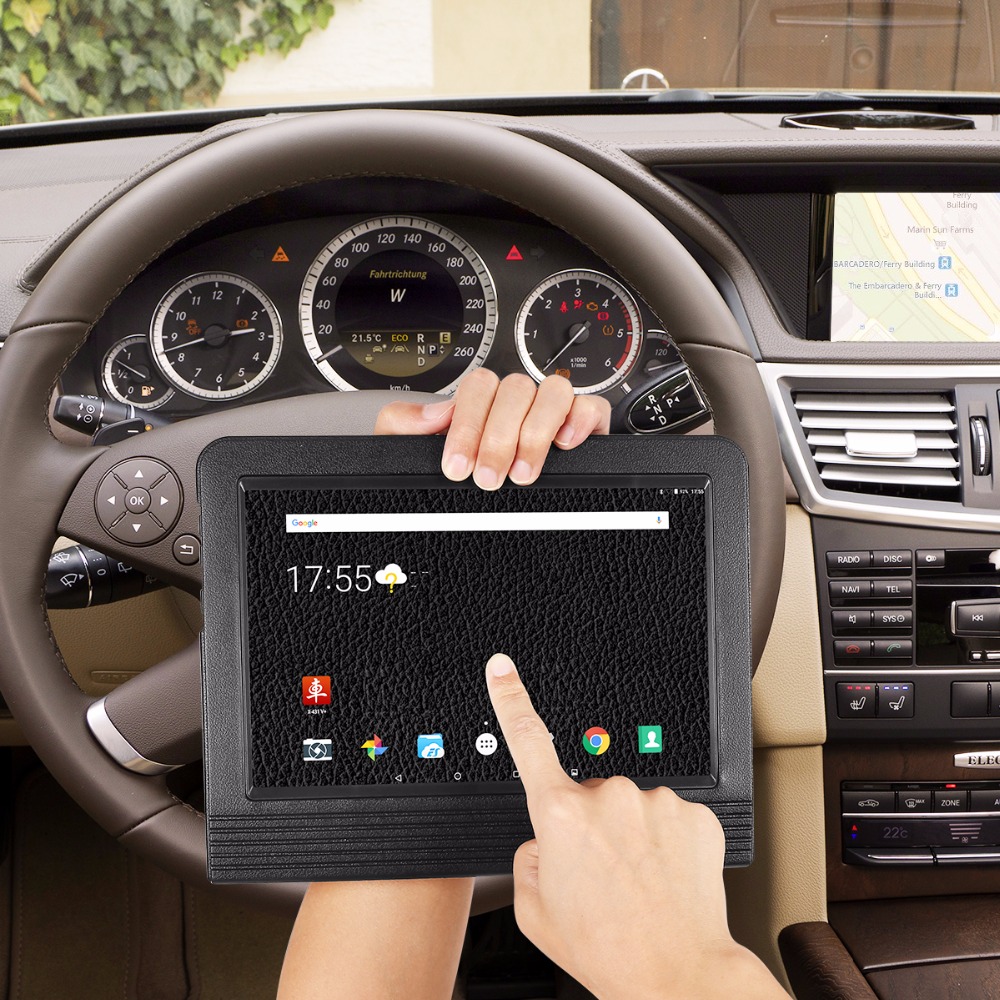
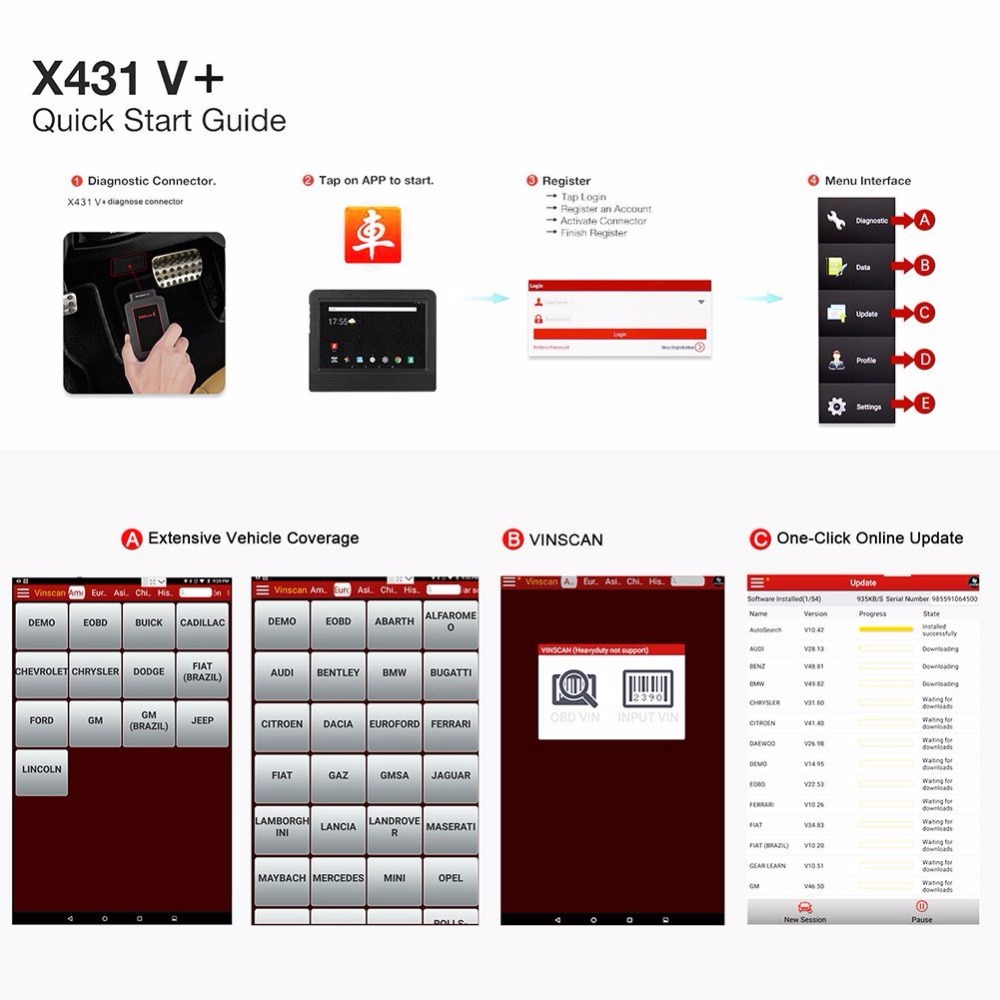
Launch X431 V+ Display :
42.1
42.2
42.3
42.4
42.5
42.6
If you have any suggestions about Launch X431 V+, please visit our website and contact us: sale@cnautotool.com

2020年6月28日星期日

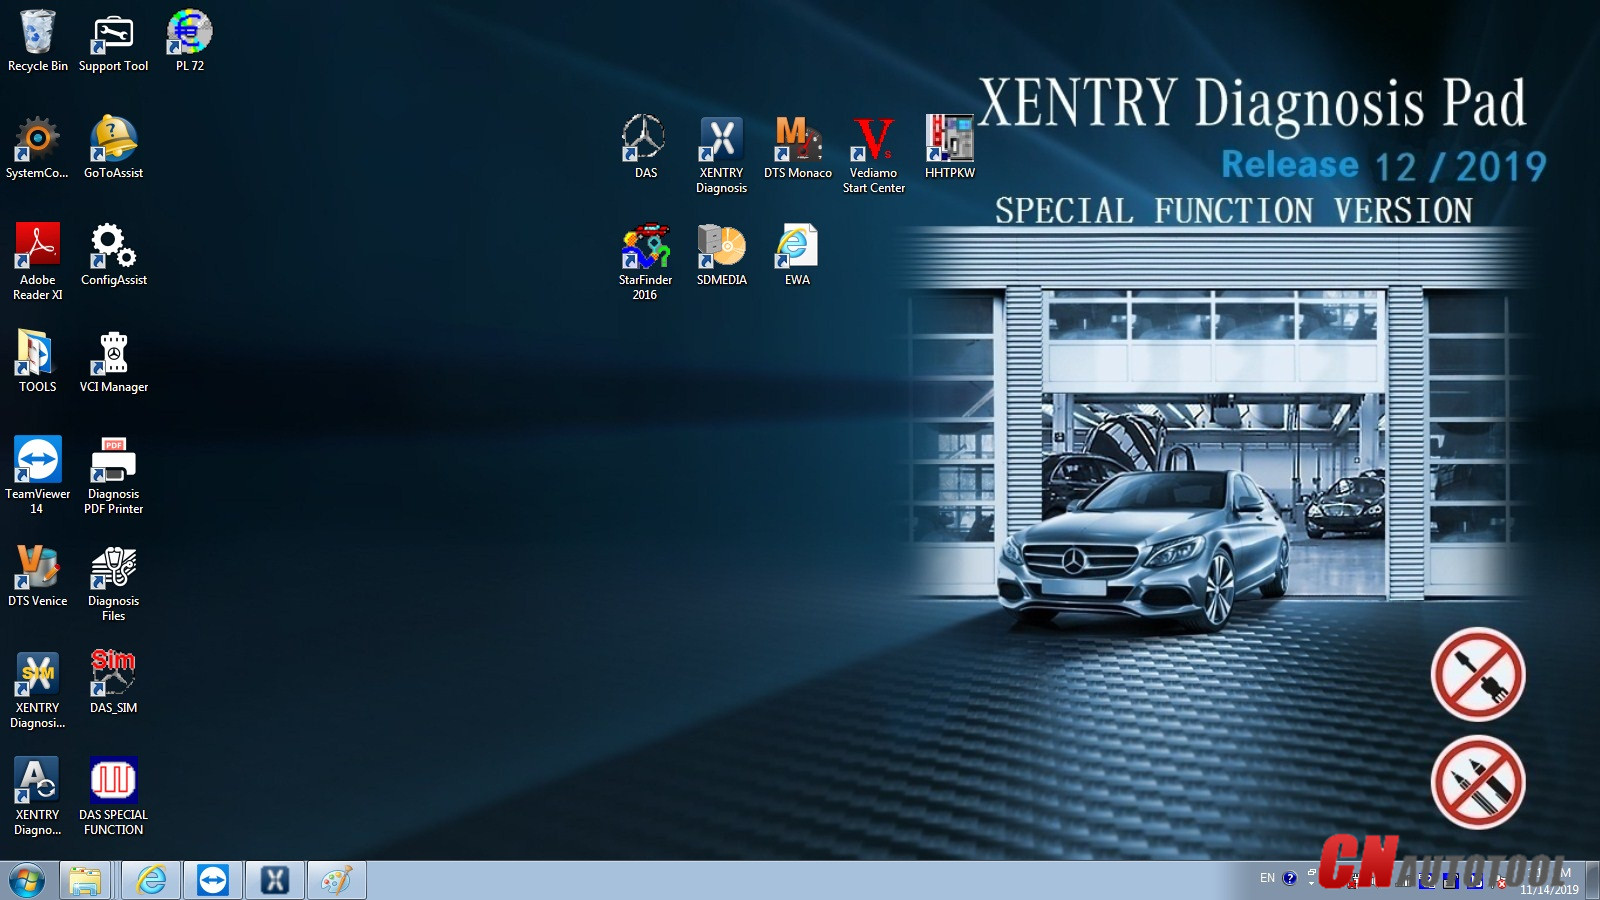
How To Solve Old Xentry Diangostic Software Cannot Work with Online SCN Coding

Xentry diagnostic and programming software for Mercedes Benz newly update to V2020.06.Some clients feedback that old xentry/das software cannot work with online SCN coding. Here CnAutotool.com share how to solve old xentry diangostic software cannot work with Online SCN Coding.
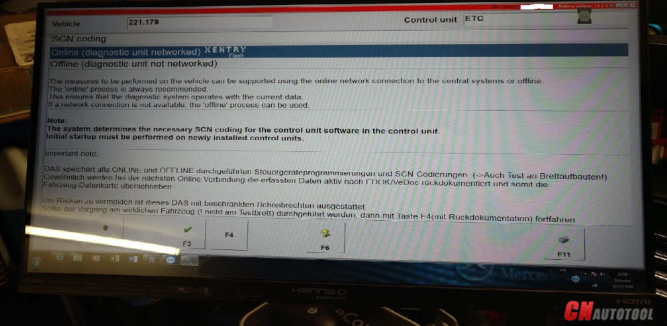
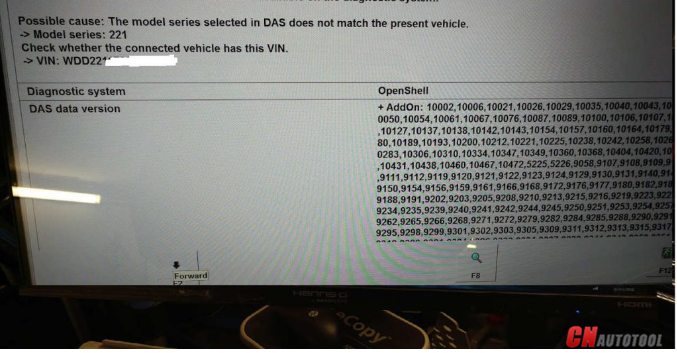
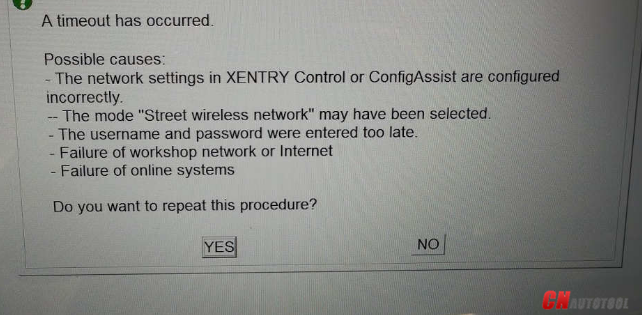
V2020.06 Xentry Diagnostic Software Cannot Work Online SCN Coding Error Showed:
How-To-Solve-Old-Xentry-Diangostic-Software-Cannot-Work-with-Online-SCN-Coding-1
How-To-Solve-Old-Xentry-Diangostic-Software-Cannot-Work-with-Online-SCN-Coding-2
How-To-Solve-Old-Xentry-Diangostic-Software-Cannot-Work-with-Online-SCN-Coding-3
How-To-Solve-Old-Xentry-Diangostic-Software-Cannot-Work-with-Online-SCN-Coding-4
How-To-Solve-Old-Xentry-Diangostic-Software-Cannot-Work-with-Online-SCN-Coding-5
Analysis Tech Support Team:
Your star diagnosis cannot support online programming and got this error because of the xentry software is too old to support SCN coding.
Nnly xentry after 2020.06 software support SCN coding.
Solution of Old Xentry Diangostic Software Cannot Work with Online SCN Coding
Pls use the latest version xentry .
MB Star Diagnostic Xentry Software V2020.06 Version Win7 32bit System Installed HDD/SSD for Mercedes
How-To-Solve-Old-Xentry-Diangostic-Software-Cannot-Work-with-Online-SCN-Coding-6


2020年6月27日星期六

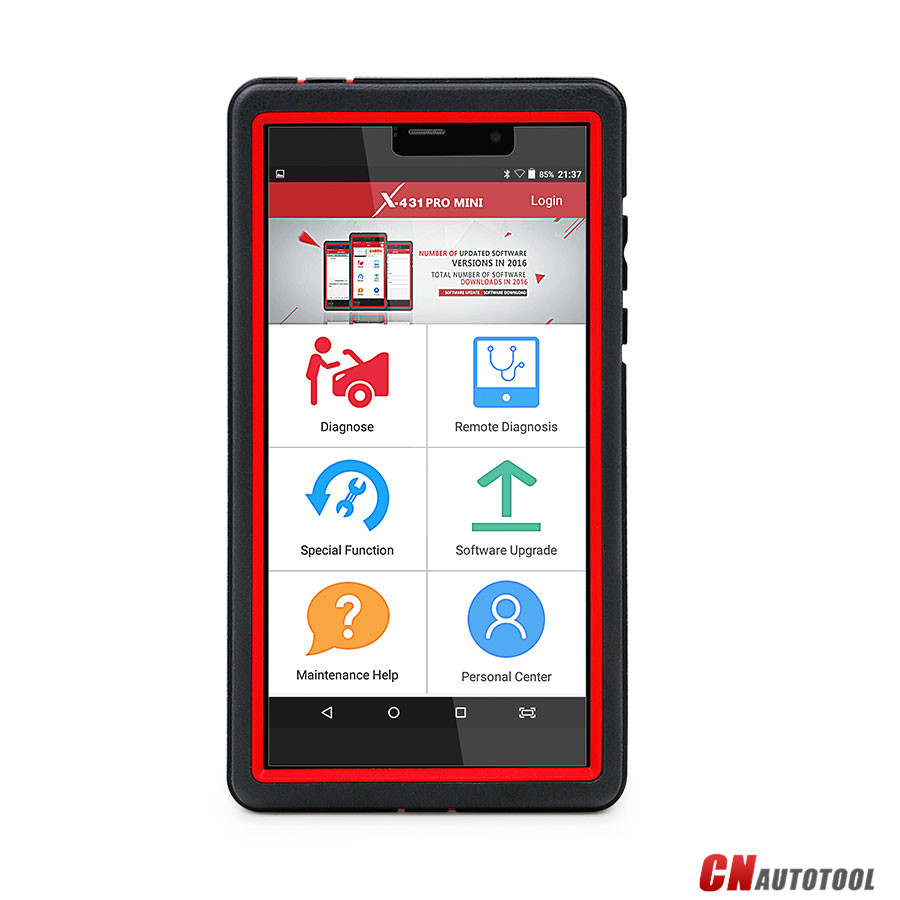
New Original Launch X431 PROS Mini Bluetooth / Wifi Full System Car Diagnostic Scan Tool

New Launch X431 Pro Mini Bluetooth Car Diagnostic Scan Tool OBD2 Auto Scanner with Wifi + 2 Years of Free Updates be equal Functions of Launch X431 V / X431 Pro Model :
X-431 PROS MINI Find many great new & used options and get the best deals for LAUNCH X431 Pros Mini EOBD OBDII Diagnostic Scanner Scan Tool at the best online prices at eBay!
Launch X431 scan tool X431 Pros Mini is a new high-end vehicles scanner tool developed by Launch with 2 year of software updates!
1-1
LAUNCH X431 PRO Mini Bi-Directional OBD2 Scanner with ABS Bleeding, ECU Coding, Key Fob Programming,TPMS Reset,HVAC, Full System WiFi/Bluetooth Code Reader Car Diagnostic Tool 4.7 … CnAutotool.com OBD2 Tool Tech Support. Free shipping It has front and rear cameras.
Language:
English, French, Spanish, German, Russian, Japanese, Portuguese, Korean, Italian, Polish, Dutch, Hungarian, Finnish, Simplified, Czech, Turkish, Greek, Arabic, Danish Persian, Romanian, Serbian, Swedish, Chinese Traditional,

X431 MINI PRO Features:
1. Diagnostic Tool:
A. Diagnose
Diagnose the electronic control system of prevailing vehicle models covering Asian, European, American and Chinese. Diagnosis functions include: Read DTCs, Clear DTCs, Read data stream, Special functions etc.
Specially designed for Android platform with clear and user-friendly interface.
Via Bluetooth, it is simple for the VCI module to communicate with X-431 PRO MINI.
Equipped with an exclusive X-431 PRO MINI protective sleeve to prevent it from being damaged.
B. One-click Update: Lets you update your diagnostic software more efficiently. To obtain better function and update service, advise you update the software regularly.
C. Repair Data: provides abundant automotive handbook, repair case and wiring diagrams for reference and retrieval.
D. Remote Diagnosis: configures X-431 PRO MINI as an I/M(Instant Messaging) tool, which enables technicians to exchange repair experience and perform remote assistance more conveniently.
2. Browser: built-in Wi-Fi module makes surfing on the internet freely.
3. Email: allows you to send and receive emails.
4. Settings: to configure your personalized X-431 PRO MINI through it.
5. Applications: other android based applications can be customized to install or uninstall.
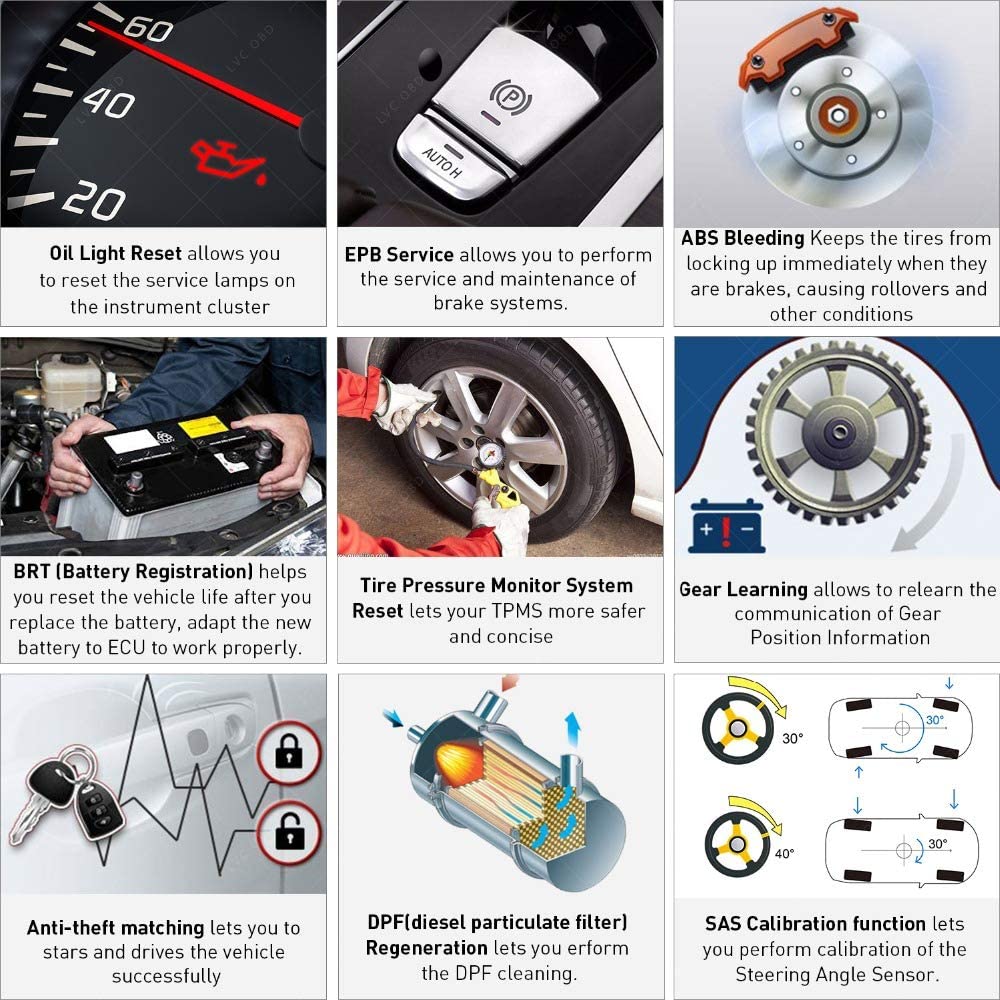
6. Special functions:
Launch X-431 PRO MINI can program and code the electronic control system of prevailing vehicle models, also perform special functions, including:
Oil Reset Service
Steering Angle Calibration
Electronic Parking Brake Reset
Battery Register / Battery Maintenance
ABS Bleeding
Electronic Throttle Position Reset / Learn
Diesel Particulate Filter (DPF) Regeneration
Tire Pressure Monitor System Reset
Gear Learning
Immobilizer Matching
Fuel Injector Coding
2-4
7. Wide Vehicle Coverage
Launch Mini Pro supports all electronic control systems on 12V EFI models, incl. more than 150 European, American and Asian models like Maserati, Ferrari, Rolls Royce, Bentley, Mercedes-Benz, BMW, Audi.Diagnose the electronic control system of prevailing vehicle models covering Asian, European, American and Chinese. It achieves full car model and full system vehicle trouble diagnosis
8. Powerful Diagnosis: Accurate 
Launch has rich experience of automotive diagnostic technology (for more than 20 years). It also develops original equipments for a vast majority of Chinese brands of automotive factories, so that X-431 PRO MINI performs diagnosis (fault code, data stream, action test and other functions) as the dealership.
9. Powerful Diagnosis: Fast 
X-431 PRO MINI can perform full system diagnosis and one button to clear codes at a high speed. It’s easy to operate.
10. Data Stream record and playback
Record and playback the data stream help you analyze the trouble when driving and solve it.
11. VINSCAN 
Automatic scan (OBD VIN) and manual input (INPUT VIN) are available.
12. View History 
Generally once a vehicle diagnosis is performed, X-431 PRO MINI will record the every details of diagnostic process. The History function provides a quick access to the tested vehicles and users can resume from the last operation, without the necessity of starting from scratch.

2020年6月24日星期三

VXDIAG MB SD Connect C6 MB Star C6 Benz Diagnostic Tool with DOIP&AUDIO Function


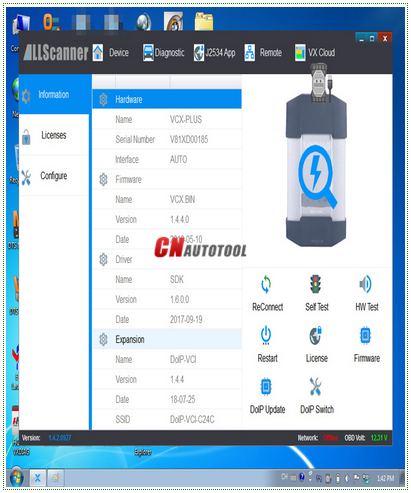
CnAutotool.com For XENTRY Diagnosis VCI is the latest interface for For Mercedes & SMART vehicles can replace Star C4/C5. VXDIAG For XENTRY Diagnosis VCI acts as a Pass-through Interface, also called MB SD Connect C6, For Benz C6 multiplexer to provide complete communication between a vehicle and the VXDIAG For XENTRY software loaded on a PC.
VXDIAG MB SD Connect C6 XENTRY Diagnosis VCI Overview:
Compatible Software: XENTRY/Das Software
Support Vehicle: Mercede For Benz & Smart vehicles
DoIP: Support DoIP
Functions: Star Diagnostic & programming (SCN Coding)
XENTRY Software Show:
31.1
31.2
31.3
31.4
XENTRY Diagnosis VCI Summary:
The new VXDIAG For XENTRY Diagnosis VCI (Vehicle Communication Interface) multiplexer serves as the interface to the vehicle when performing diagnosis and repairs, and programming electric and electronic on-board vehicle systems.
The VXDIAG For XENTRY Diagnosis VCI does not have its own PC core, battery, fan, or display. It is operated using the VXDIAG For XENTRY Diagnosis Pad via WLAN or a USB cable connection.
31.5
31.6
31.7
31.8


2020年6月17日星期三

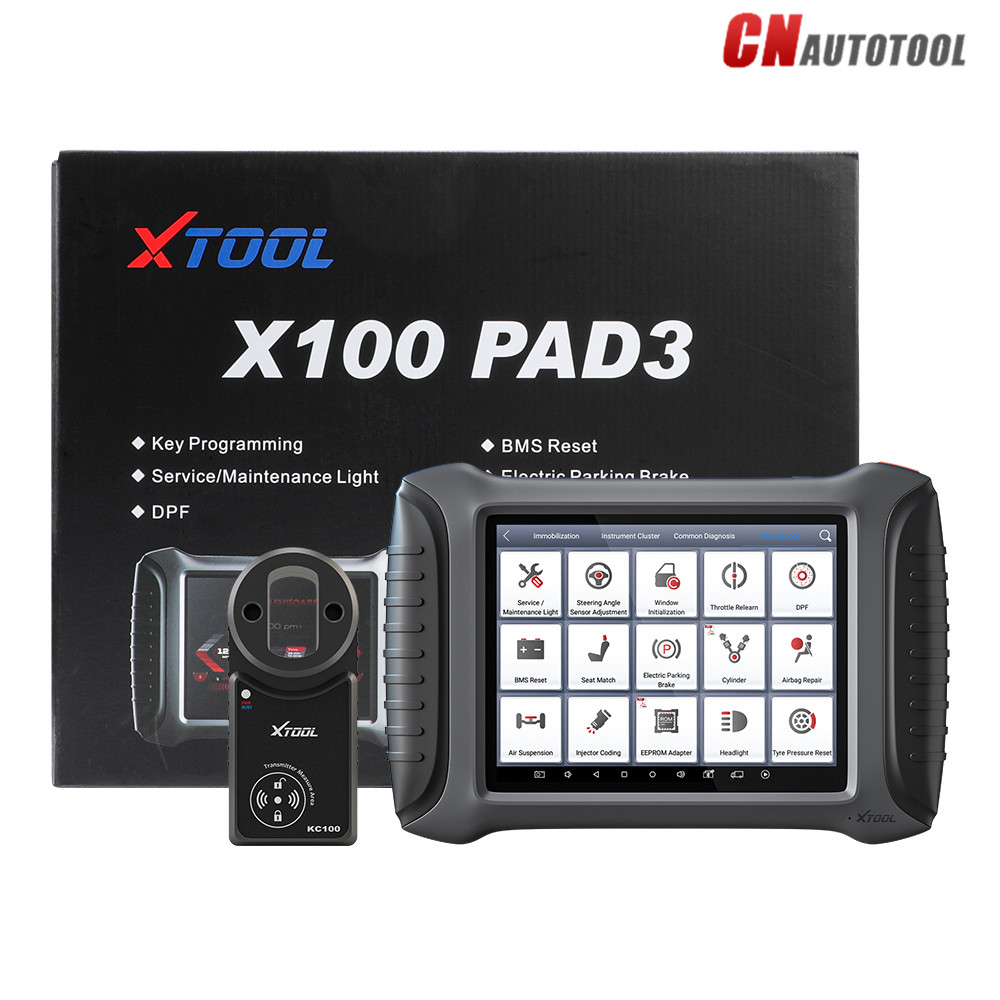
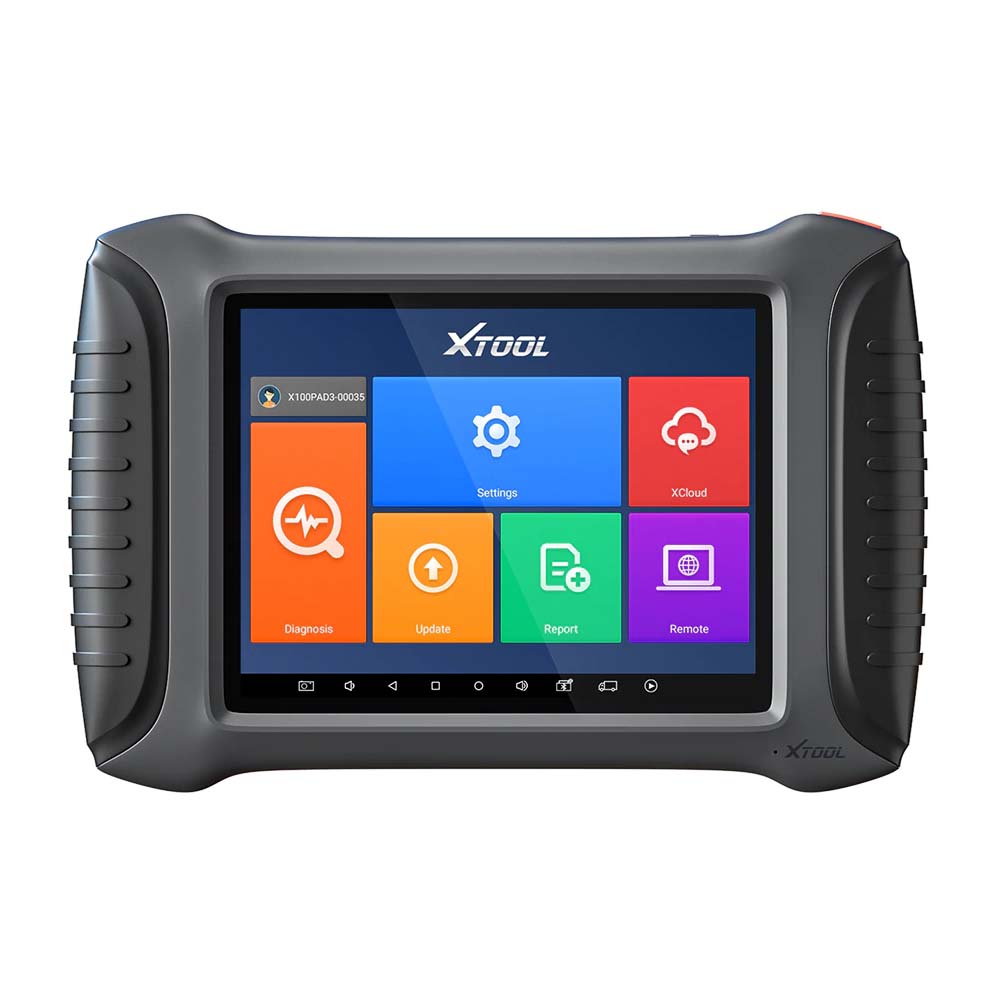
XTOOL X100 PAD3 Auto Key programmer for Toyota for lexus All key lost


Xtool X100 Pad3 2020 for Toyota for lexus key lost odometer adjustment OBD2 car diagnostic tool free update
24-1

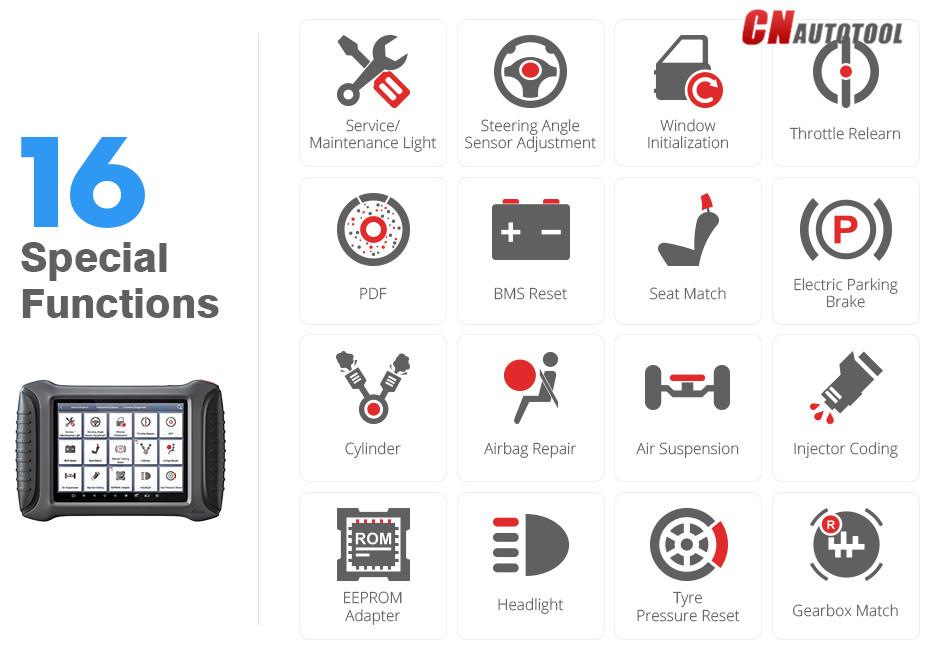
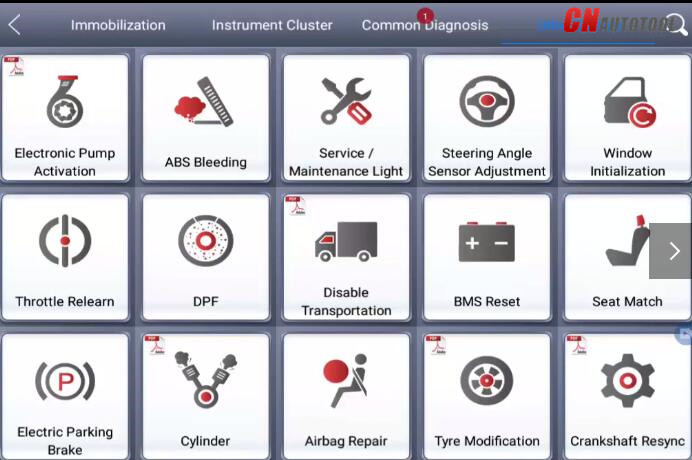
Xtool Diagnostic Tools XTOOL X100 PAD3 Support 16 Special Functions:

Service/Maintenance Light
Steering Angle Sensor Adjustment
Window Initialization
Throttle Relearn
PDF
BMS Reset
Seat Match
Electric Parking Brake
Cylinder
Airbag Repair
Air Suspension
Injector Coding
EEPROM Adapter
Headlight
Tyre Pressure Reset
Gearbox Match
24-2
XTOOL X100 PAD3 Key Programming Vehicle Coverage:
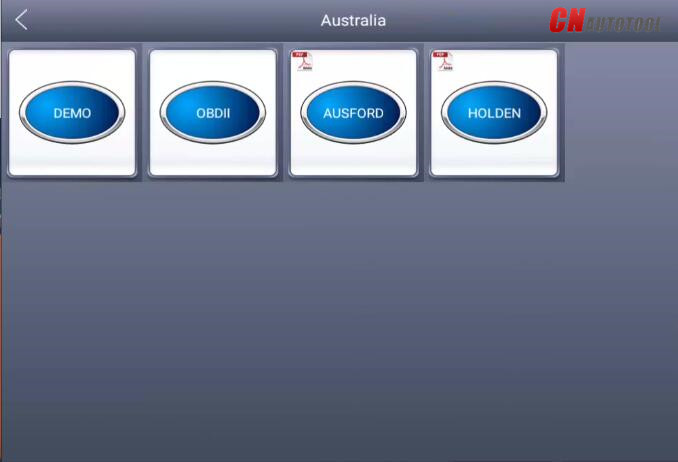
Australia:
24-3
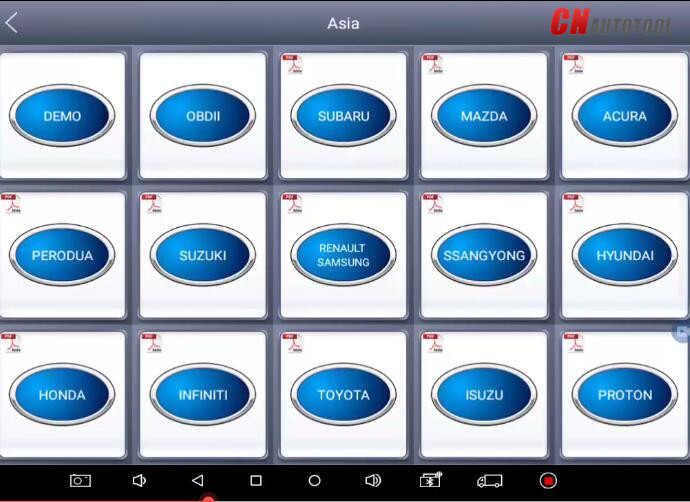
Asia: for Toyota, for Lexus, for Honda, for Acura, for Mazda, forNissan, for Infiniti, for Mitsubishi, for Subaru, for Suzuki, for Kia, for Hyundai, for Daewoo, for SSANGYONG, for Proton, etc
24-4
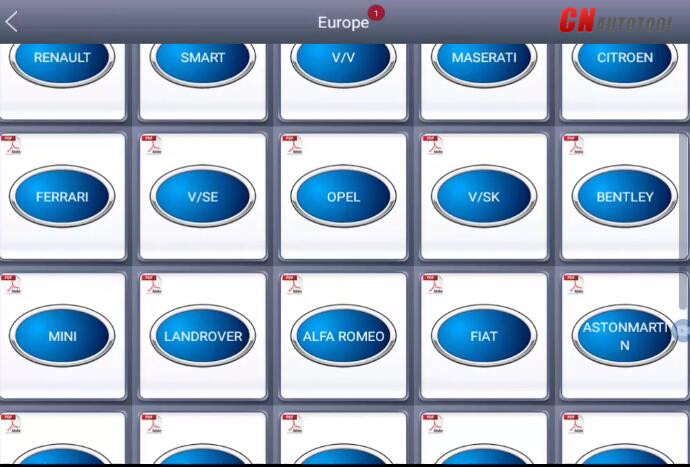
Europe: for Audi, for VW, for Skoda, for Seat, for Porsche, for Opel, for Citroen, for Peugeot, for Jaguar, for Land Rover, for Lincoln, for Renault, etc
24-5
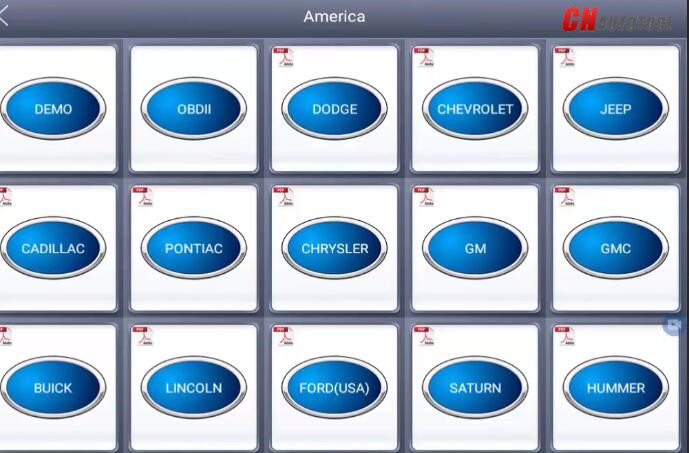
America: forGM,for Cadillac, for Buick, for Chrysler, for Ford etc
24-6
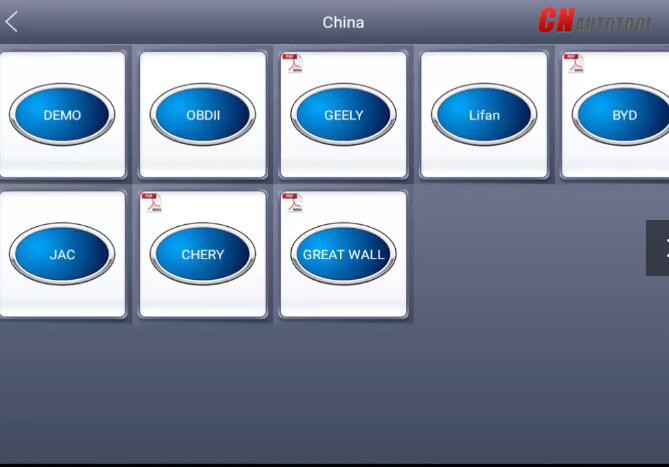
China: for Great Wall, for Chery, for Brilliance-auto, for Geely, for LIFAN, for HAFEI, for CHANGAN, for LANDWIND, for BYD,for BYD , for JAC, etc.
24-7
Other Service:
24-8
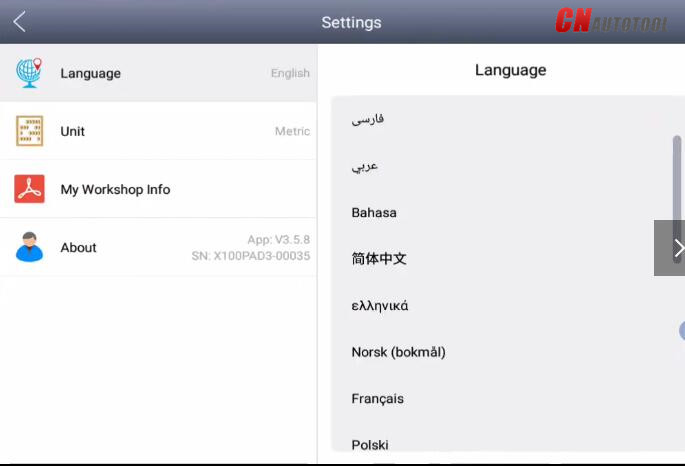
Language setting:
24-9
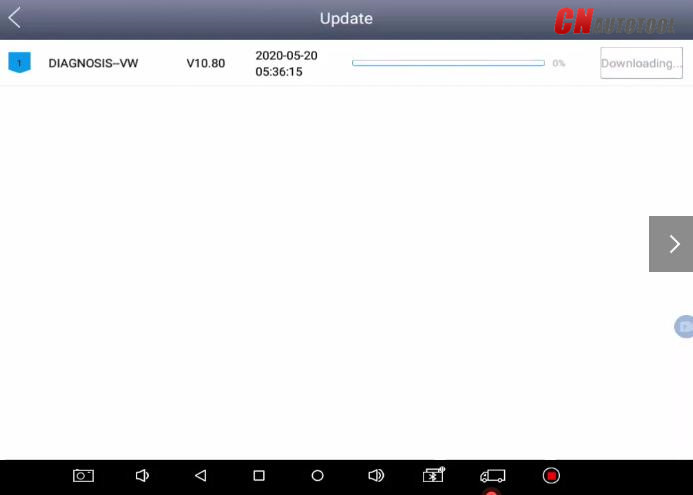
Update:
24-10


2020年6月16日星期二

How to use Xtool X100 PAD 3 tablet?


Xtool X100 Pad3 Key ProgrammmerX100 Pad3 ( X100 PAD Elite ) is a professional tablet key programmer which not only provides customers with key programming, but also supplies advanced special functions. Equipped with KC100 key programmer, X100 PAD Elite can perform: Key programming, oil service light reset, timing belt service light reset, tire pressure warning light reset, EPB reset, throttle body reset, DPF reset, battery reset, steering angle calibration and OBD-II engine diagnosis, etc.
X-100 Pad2
How to use Xtool X100 PAD 3 tablet?
After the X100PAD3 mainframe is connected to the vehicle via main test cable, Immobilization can be performed. The Immobilization interface is shown as below:

X100PAD3 lists mileage adjustment separately. The Dashboard Recovery interface is shown as below:

Users can choose the relevant menu for the vehicle being tested: selection for Europe will enter the European cars menu, selection for Asia will enter the Asian cars menu, selection for America will enter the American cars menu.

Besides the usual system diagnostic functions, XTOOL also has developed a series of special diagnostic functions for certain vehicles as follows:

Test Functions: it can read and clear faults codes for all systems of vehicles.
Using BMW as an example, select Common Diagnosis, then select EUROPE. Choose the BMW word. If the word is not showing on the screen, please swipe up or down to display it.

PLEASE NOTE: Different vehicles have different menus and systems.
Common main function menu includes the following options:
Read ECU: This function is to read the ECU version information, which is the equivalent of “System Identification” or “System Information” in some electronic control systems.
This will allow you to read ECU related software and hardware versions, models and production date of diesel engine, part number, etc.
Read DTCs: read the trouble codes that are stored in the ECU.
Clear DTCs: clear current and historical trouble codes memory in ECU. The trouble codes can not be erased without eliminating the fault that the code relates to. TIP: Save or print the currently stored fault codes before clearing them to provide help in the case of an intermittent fault.

After clicking the data record button the second time the data feedback page will appear as shown below, showing diagnostic software version, vehicle being tested, and the steps performed in the diagnostic process. Users can then enter the nature of the problem and any other relevant information and send the form to the Xtool engineering department.

. Read ECU
This function is used to read ECU version information, which is the equivalent of
“System Identification” or “System Information” in some electronic control systems.
This will allow you to read ECU related software and hardware versions, models and production date of diesel engine, part number, etc. shown below:

Read DTCs
Select Read Fault Codes to read the trouble codes stored in the ECU. The screen will show the trouble codes and their definition, shown below:
Tip: In the process of diagnosis, if the device shows “System is OK” or “No Trouble Code”, it indicates that the ECU has not detected a fault in any of the circuits that it monitors. If there is a fault which is not being recorded it may be that the fault is with a part of the system not under the control of ECU, such as a mechanical system fault. It is also possible that the signal of a system sensor may be incorrect but still within the ECUs stored limits, this can be verified in Live Data.
Clear DTCs
Return to the previous step, select Clear Fault Codes to clear the current and historical trouble codes memory in ECU. Performing this function will clear all the current and historical trouble codes. Please ensure that the trouble codes have been recorded before clearing, shown below:

Click YES to confirm the operation, if the communication is normal, it will show “Trouble Codes has been Cleared Successfully” or “Trouble Codes Cleared”. Generally, users will need to re-read trouble codes after clearing them to confirm that the trouble codes have been cleared.
Enjoy!